
A Homeowner’s Guide to Fixing and Preventing Mold
Have you discovered mold in your home? A couple of small spots on your shower tiles, grout, or caulk are quickly and easily removed with household cleaning products.
But what if you spot a larger patch on a bathroom wall? Or inside a sink cabinet? Or under a basement window?
It’s essential to act quickly because this unsightly fungus can rapidly multiply in favorable conditions and create an unhealthy environment for you and your family.
Since mold thrives in moisture, the first step is finding and eliminating the source of water (a leaking pipe, for example) and drying out the area. Next, get ready to remove the mold that has already taken hold.
DIY Mold Remediation
Can you get rid of mold on your own? Yes.
The Environmental Protection Agency (EPA) recommends that homeowners independently resolve their mold problems if the affected area is less than three feet by three feet.
First, however, take steps to protect yourself:
- Cover up - Mold is a skin irritant, so shield as much of your skin as possible.
- Wear rubber gloves – They’ll protect your hands from mold and harsh cleaning agents. If you’re using detergent and water, regular household gloves are fine. For stronger cleaning solutions, it’s better to use neoprene, nitrile, or natural rubber gloves that extend halfway up your arm.
- Use a heavy-duty respirator - Avoid inhaling mold spores that might damage your lungs. The EPA recommends an N-95 respirator, which typically costs $12 to $25.
- Wear goggles – Select a pair that does not have ventilation holes, so airborne mold spores can’t reach your eyes.
Next, prepare your cleaning solution(s).
You have many options. Some products work best on hard surfaces, while others do a better job of penetrating porous materials. You can also make your own by mixing various chemicals (like bleach, vinegar, borax, ammonia, and others) with water.
Don’t mix chemicals together! Some combinations, like bleach and ammonia, cause toxic fumes and are extremely dangerous.
If your cleaning solution contains bleach or other disinfectants, be sure your work area is well ventilated.
Next Steps
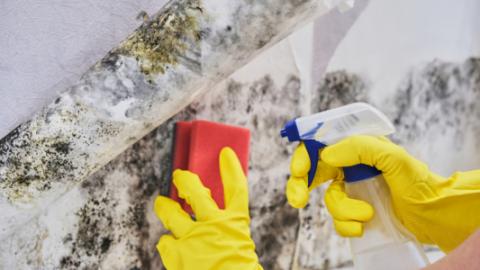
Once you’ve prepared yourself and gathered your supplies, it’s time to get that mold out of your house!
Work with a sponge or a brush to scrub it off hard, solid surfaces. Unfortunately, mold can stain, so you may not be able to eliminate all discolorations.
Do not paint or caulk over the mold. However, once the mold is eliminated and the area is thoroughly dry, you can seal wood surfaces with an oil-based primer like KILZ then use a latex paint containing a mildewcide to prevent future mold growth.
Porous materials, including fabric, carpet, and ceiling tiles, may need to be discarded if you aren’t able to thoroughly remove the mold.
Know Your Limitations
Some mold problems demand professional attention. You may want to hire a mold remediation contractor if:
- the area is larger than 10 square feet
- the mold has caused structural damage, or
- you can’t reach and clean sections where mold is growing
Prevent Future Problems
Keep your home dry and quickly correct any water problems. It only takes 24 to 48 hours for mold to gain a grip.
Watch for new leaks from the roof, pipes, or basement window wells. Bathrooms and kitchens are also prime spots. Keep an eye on leaks from sinks, toilets, showers, and tubs.
Reduce humidity levels in any damp areas within your home (like a basement). Dehumidifiers lower humidity levels while exhaust fans can improve ventilation. If you don’t have exhaust fans in your kitchen or bathrooms, consider installing them.